Folding Propellers Assembly Guide Leave a comment
Folding propellers are a new development in the world of copters and are vapidly increasing in popularity with their ease of storage. They act exactly as the standard propellers whilst in flight, but when it come to storage, you simply fold the propellers back to decrease risk of damage. This is a small instruction guide to help with the construction of these propellers.
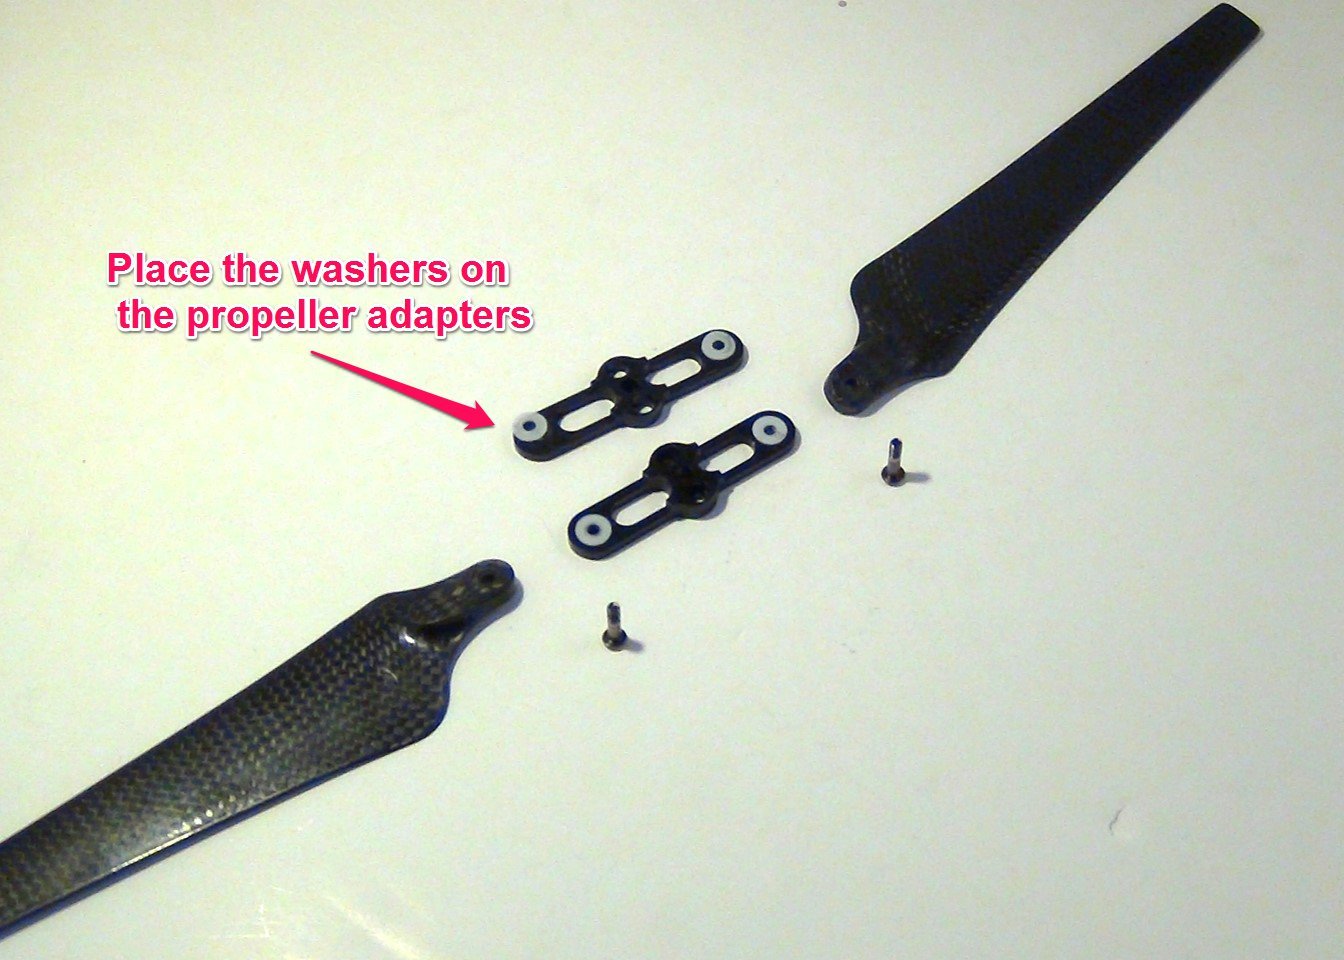
Step 1: The first step is simple enough; place the white washers in the indentations in the propeller adapters as indicated in the picture below.
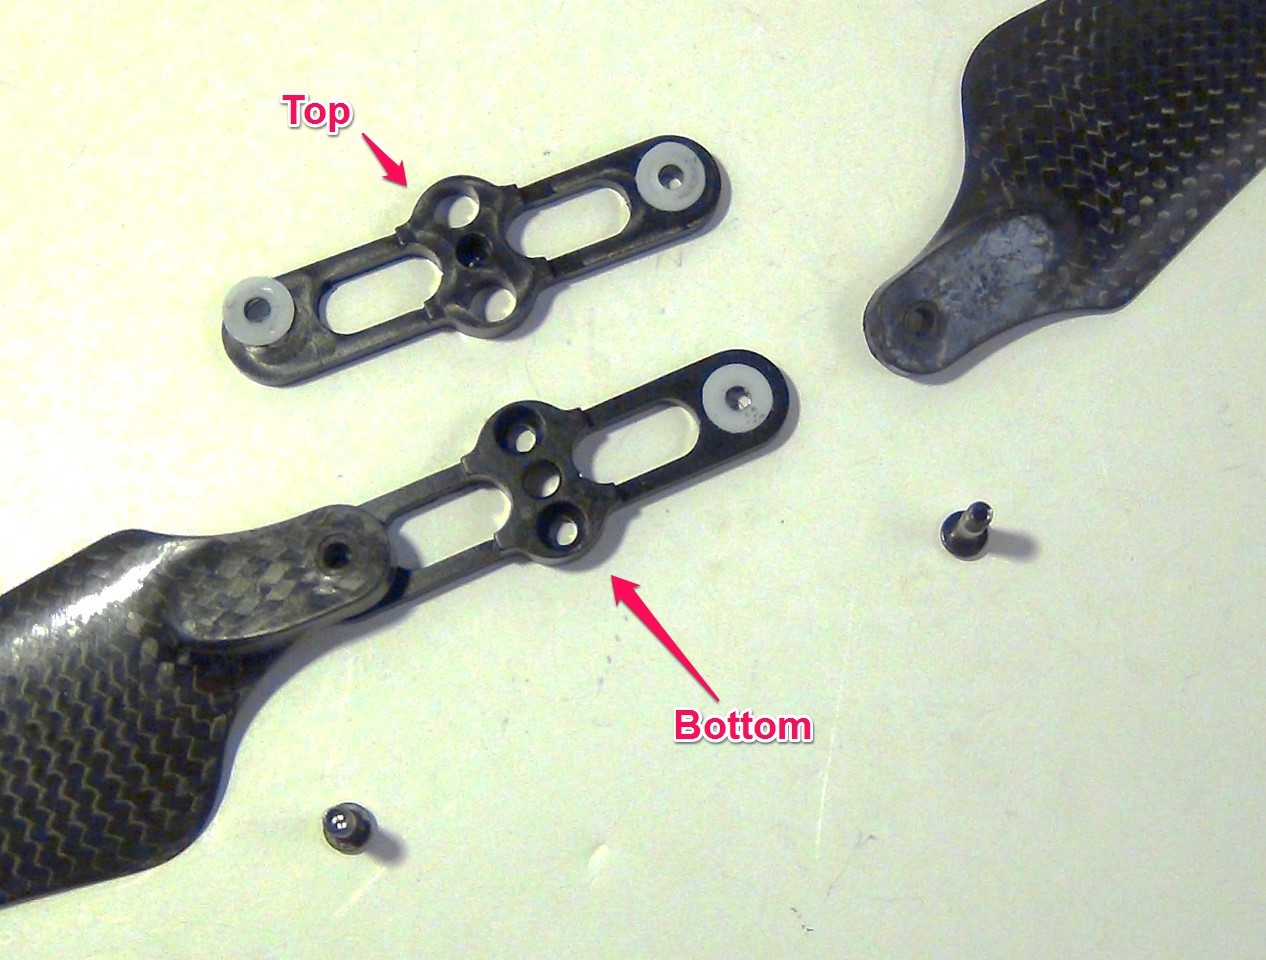
Step 2: The next step is to attach one propeller to the propeller adapters. For this task, you need to use one of the two longer screws that are supplied in the folding propeller pack. At this stage it is essential to get the correct propeller adapter in the correct position. With help from the picture below, you can see that the top propeller adapter must be the one with the two larger holes.You then simply place the propeller over the suitable hole on the propeller adapter. You then flip the top propeller adapter over so that the washer is in contact with the propeller, and screw in the screw. It is advisable to attach this propeller loosely ( and so do not tighten screw) so that there is enough manoeuvrability to attach the other propeller, as shown in the third picture.
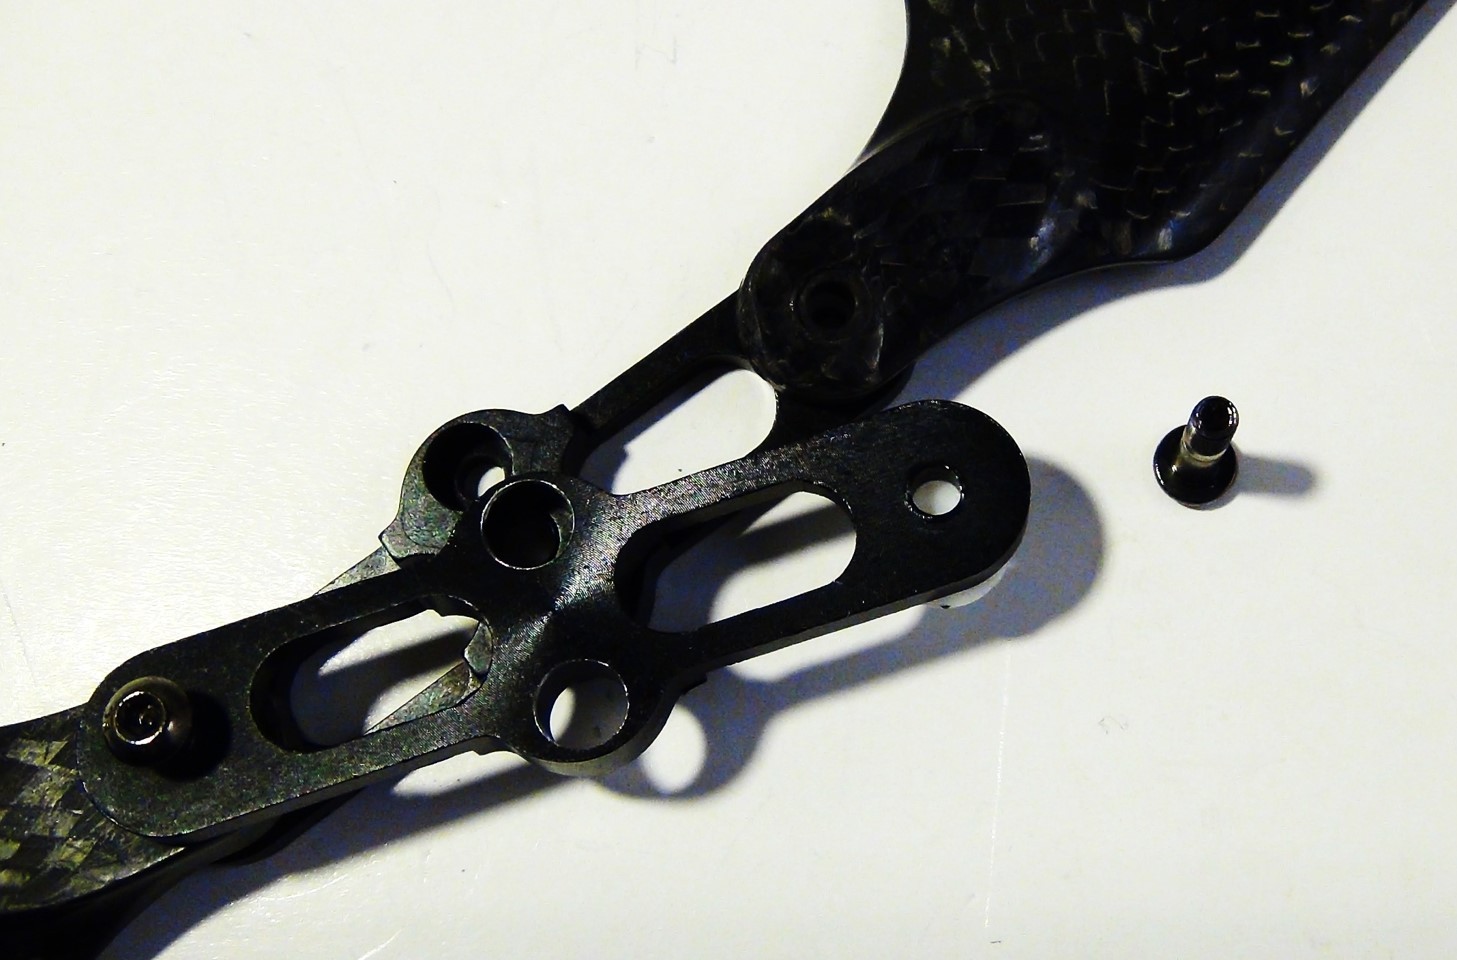
Step 3: Now you simply attach the other propeller which should be made easier if the other propeller is not yet tightly secured. Once both propellers are lightly attached, you can fasten the screws in tightly. After this is done, you have the finished product, as shown in the picture below.
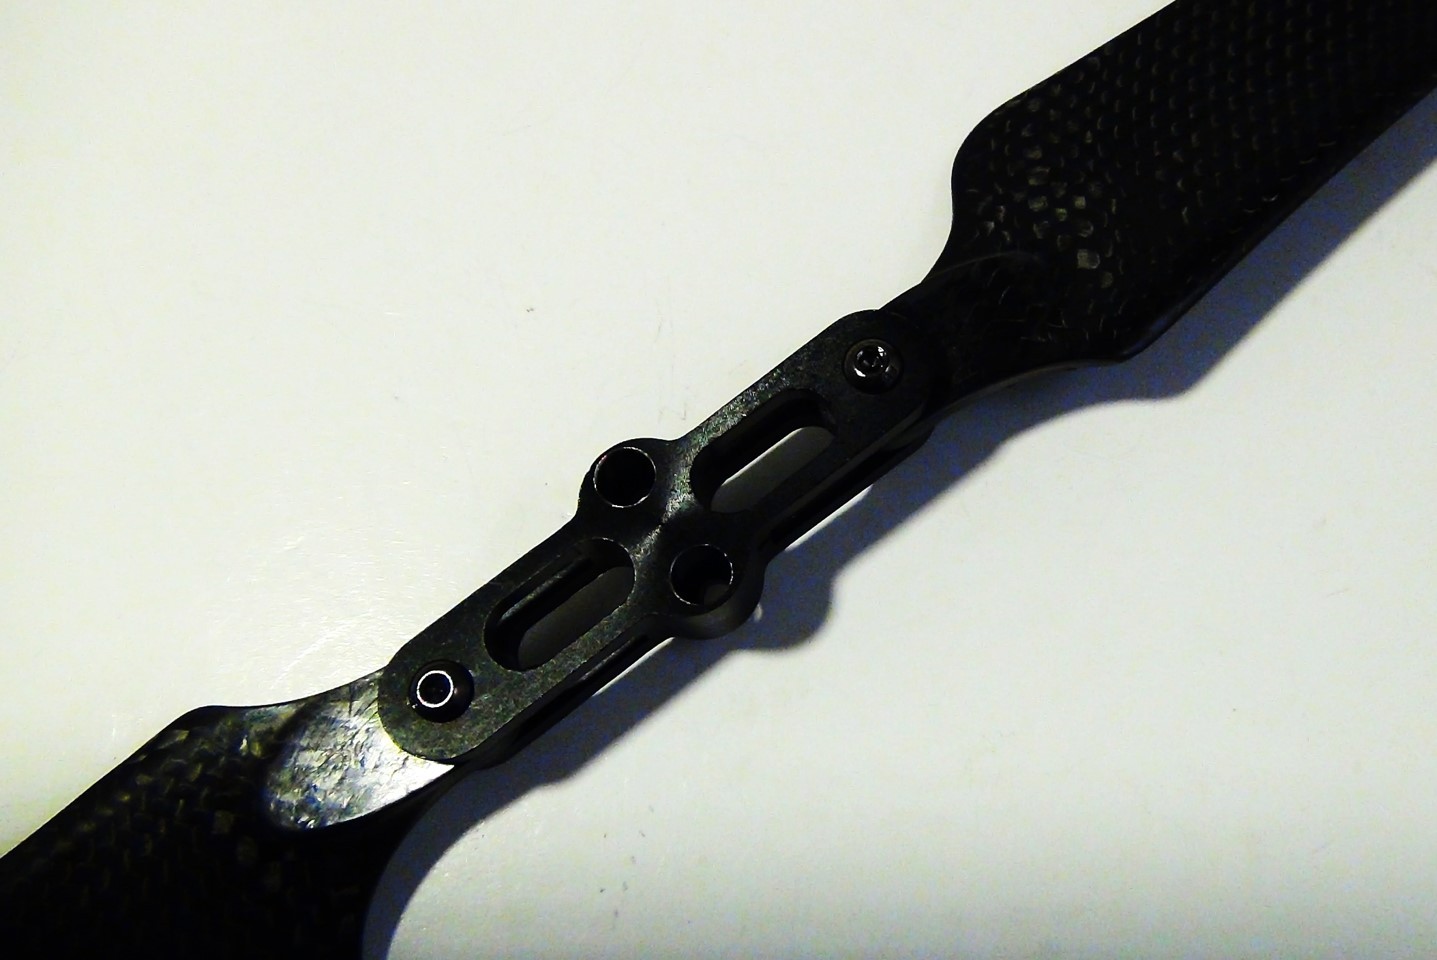
In this pack, you are supplied with two sets, and so you carry out this same procedure for the other set, to get the product shown below.
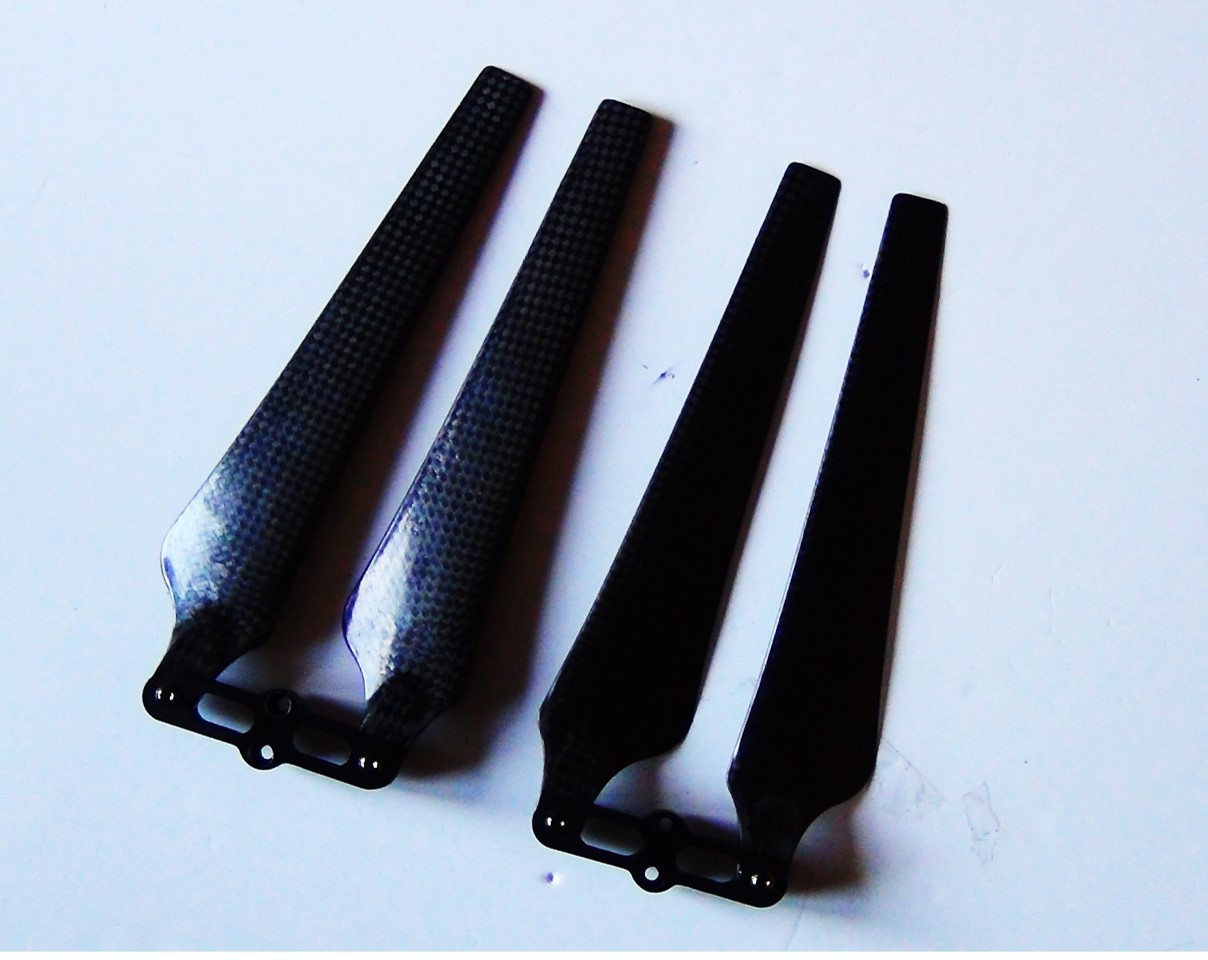
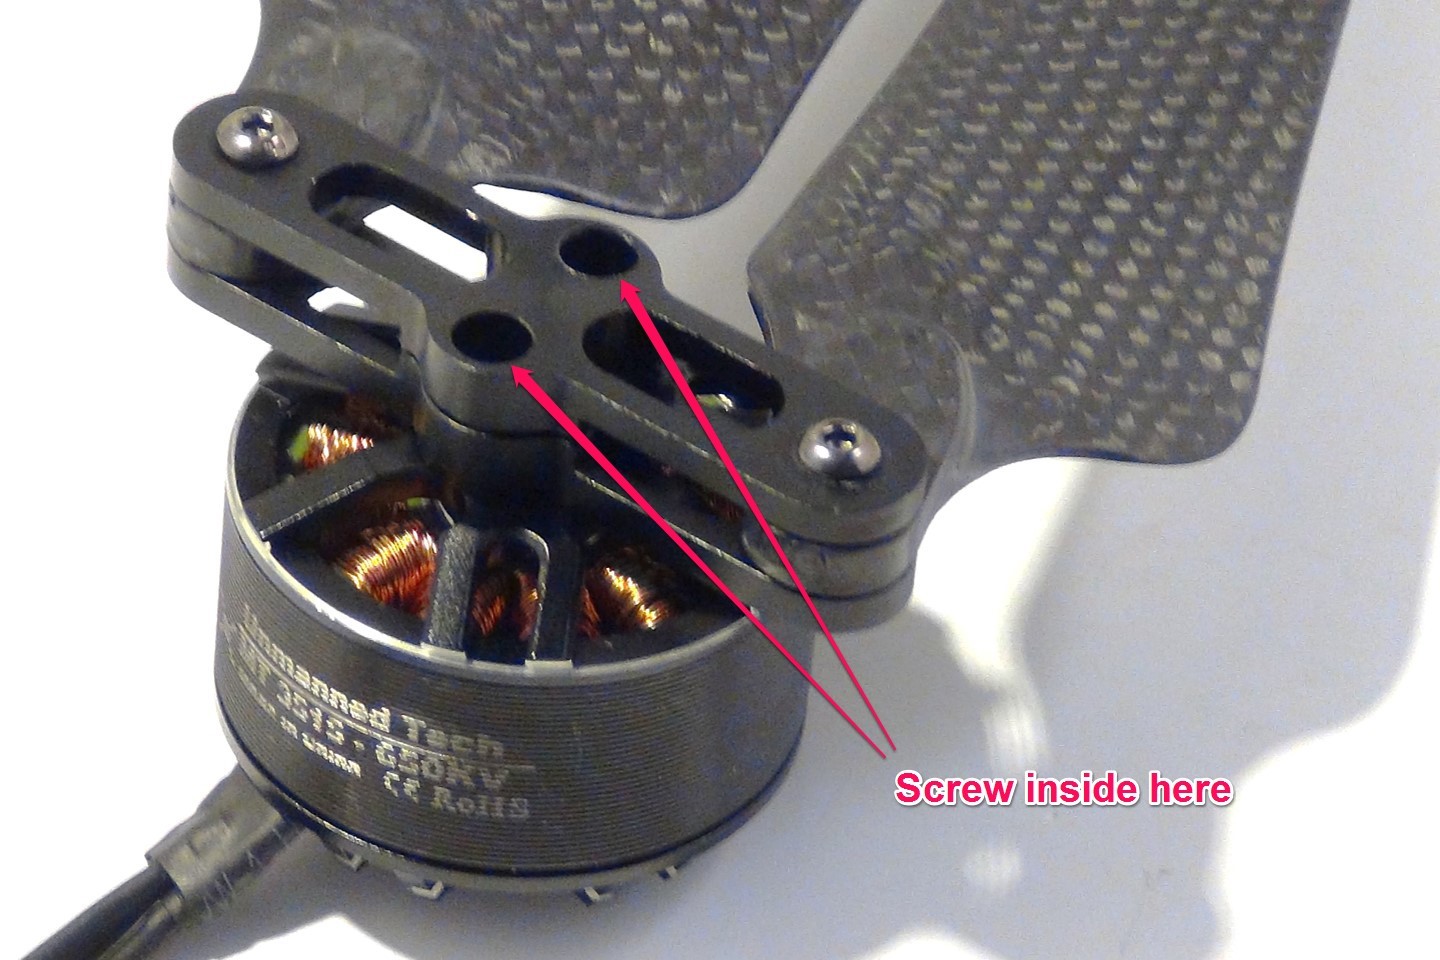
Extra Step: In order to use them you will obviously need to attach the folding propellers to your motors. The propeller holder will fit any motor that has 12mm mounting holes. These are attached just like any other direct mount propeller by screwing two screws into the countersunk holes on the prop holder as shown in the picture below. . Sometimes due to the tight constraints you may need to use some bolt head screws to attach them to your motor as some screws have heads that are too large.
